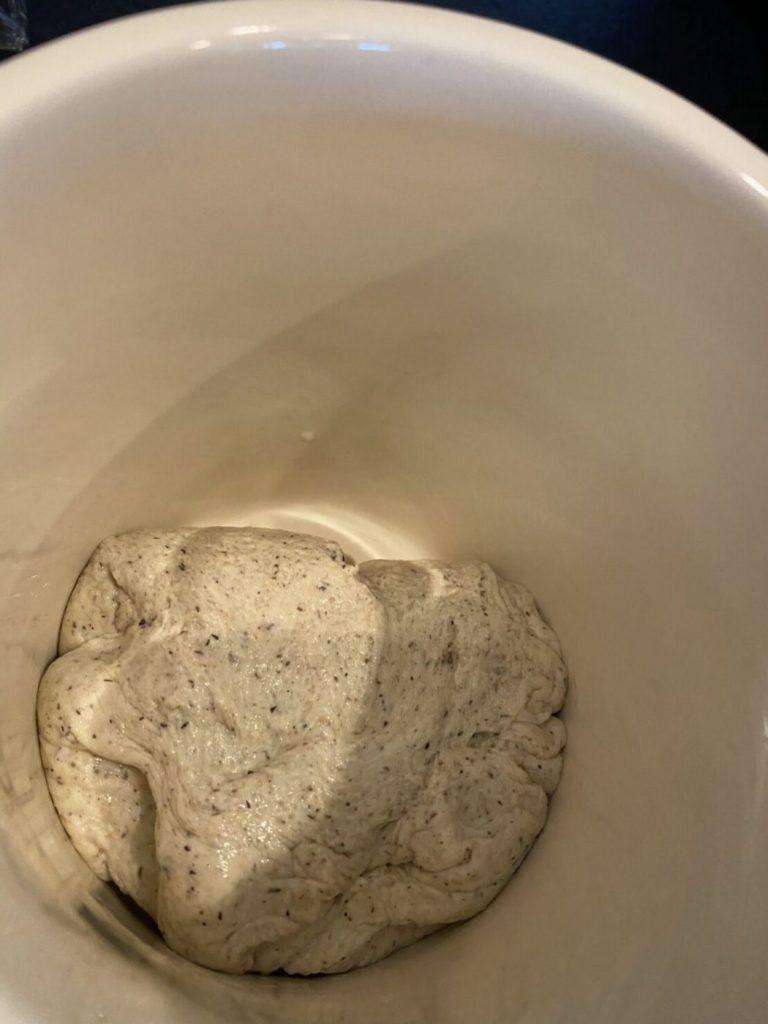
Ingredients
Scale
2 cups all-purpose flour
1 (.25 ounce) package active dry yeast
2 cups warm water
Instructions
Day 1: Combine Flour and Water
- Mix the ingredients: In a glass or plastic container, combine 1 cup of flour and ½ cup of filtered water. Stir until well-mixed, scraping down the sides to incorporate everything. The consistency should be like thick pancake batter.
- Cover and rest: Loosely cover the container with a clean cloth or plastic wrap, allowing air to circulate. Place the container in a warm area (around 70°F/21°C) to start fermentation. Let it sit for 24 hours.
Day 2: Feed the Starter
- Check for bubbles: After 24 hours, check for small bubbles forming in the mixture—this indicates fermentation has begun.
- Discard and feed: Remove half of the mixture (discard it or use it in a different recipe). Add 1 cup of flour and ½ cup of water to the remaining starter and stir until smooth.
- Cover and rest again: Cover the container loosely and let it rest in the same warm spot for another 24 hours.
Days 3-7: Continue Feeding
- Repeat the process: Each day, discard half of the starter and feed the remaining half with 1 cup of flour and ½ cup of water. Stir until smooth, cover, and leave in a warm place. You should start seeing more bubbles and the starter will grow in volume.
- Check for readiness: By day 5-7, your starter should be bubbly, have a pleasant sour smell, and double in size after each feeding. Once it consistently doubles in size within 4-6 hours of feeding, it’s ready to use for baking.
- Prep Time: 10 min
- Category: breads
Nutrition
- Calories: 65
- Sodium: 4 mg
- Carbohydrates: 15 g
- Protein: 4 g